Can You Paint A Bathroom Sink

Painting An Old Sink
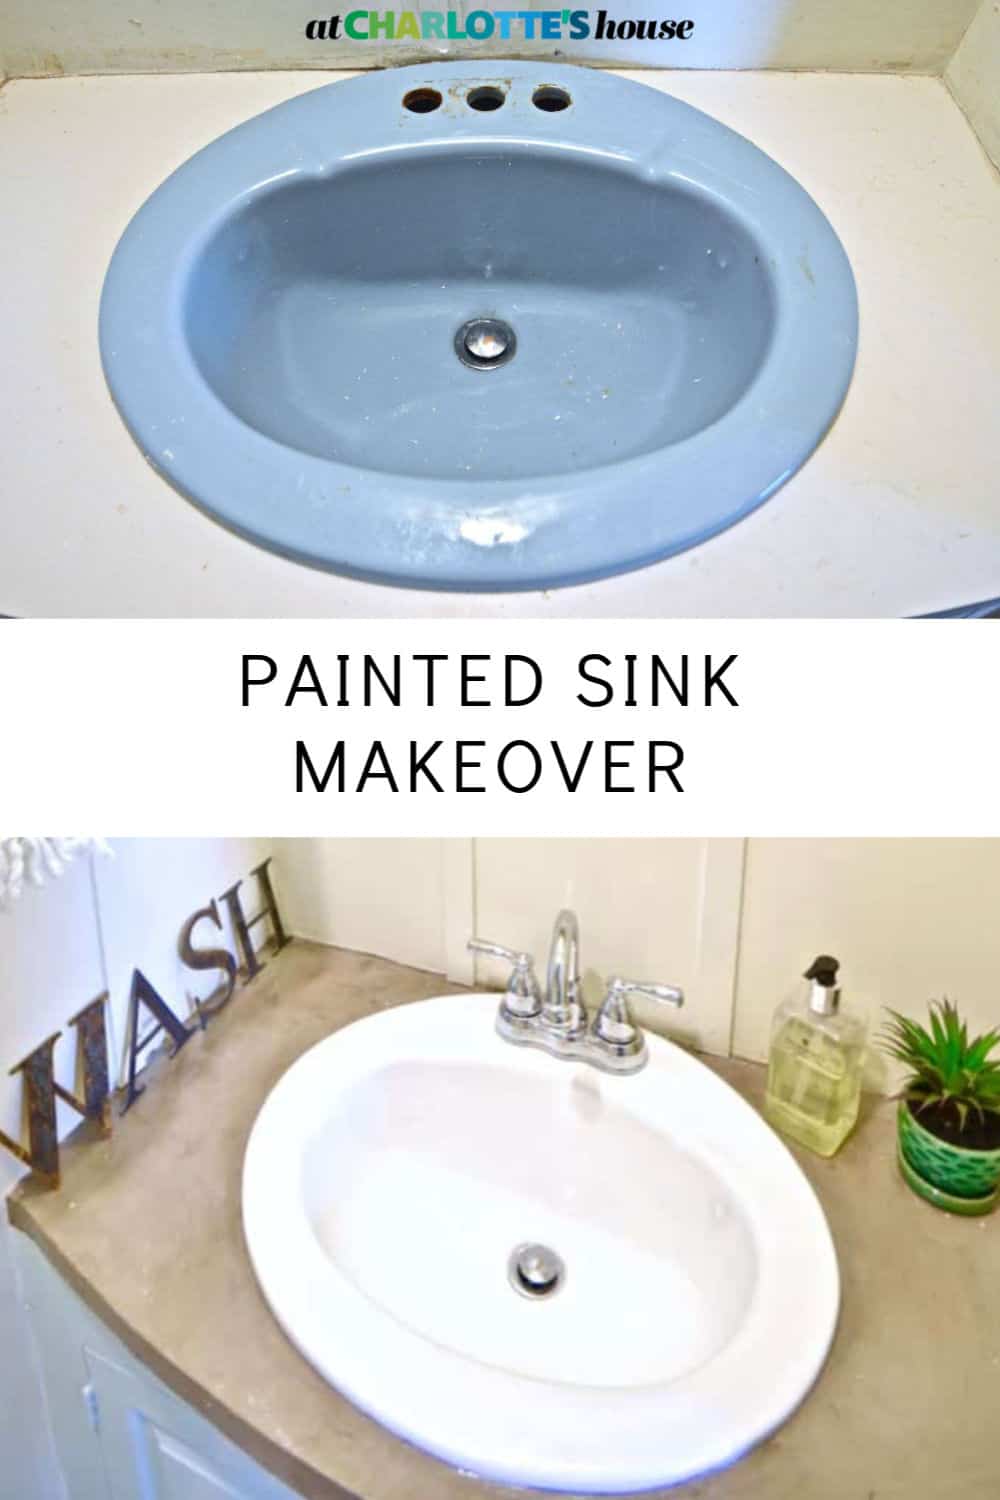
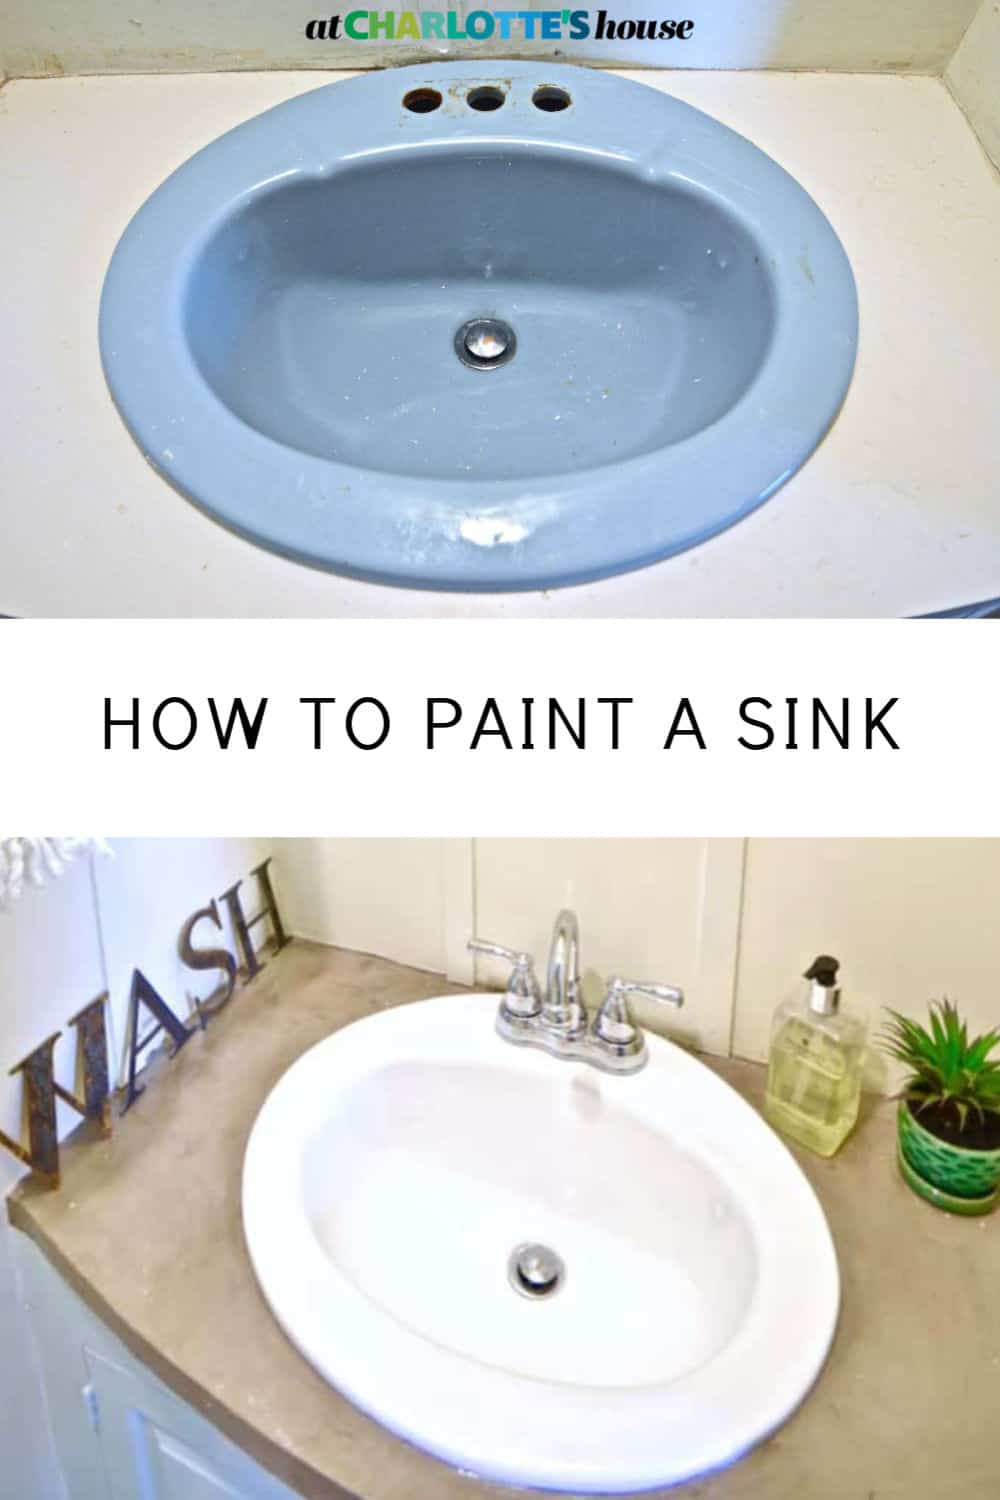
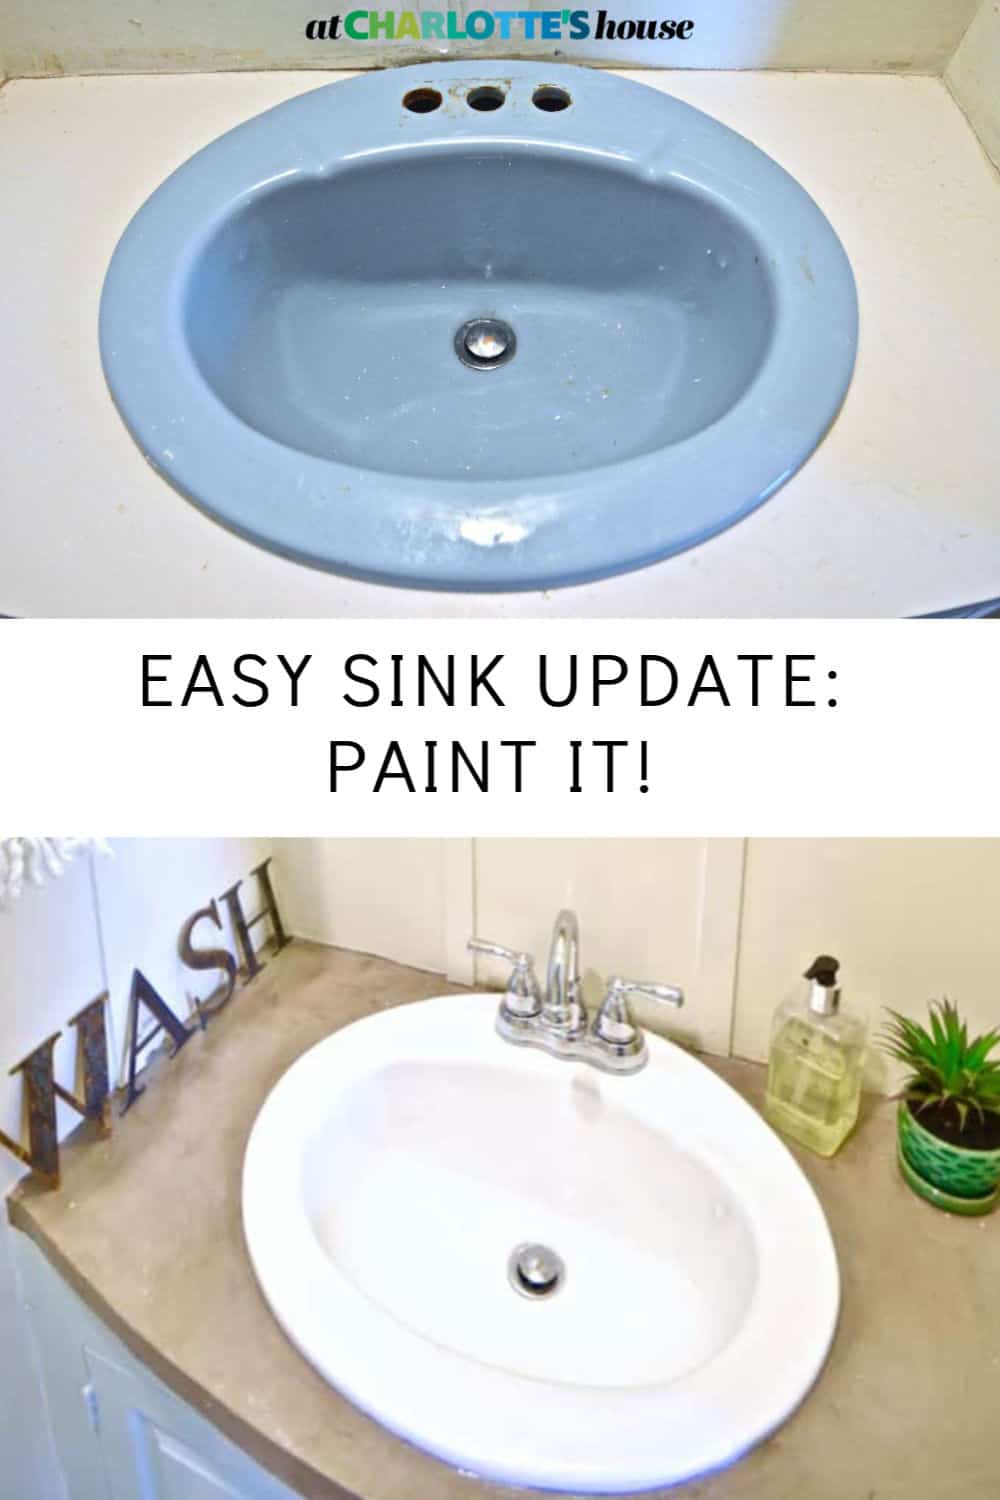
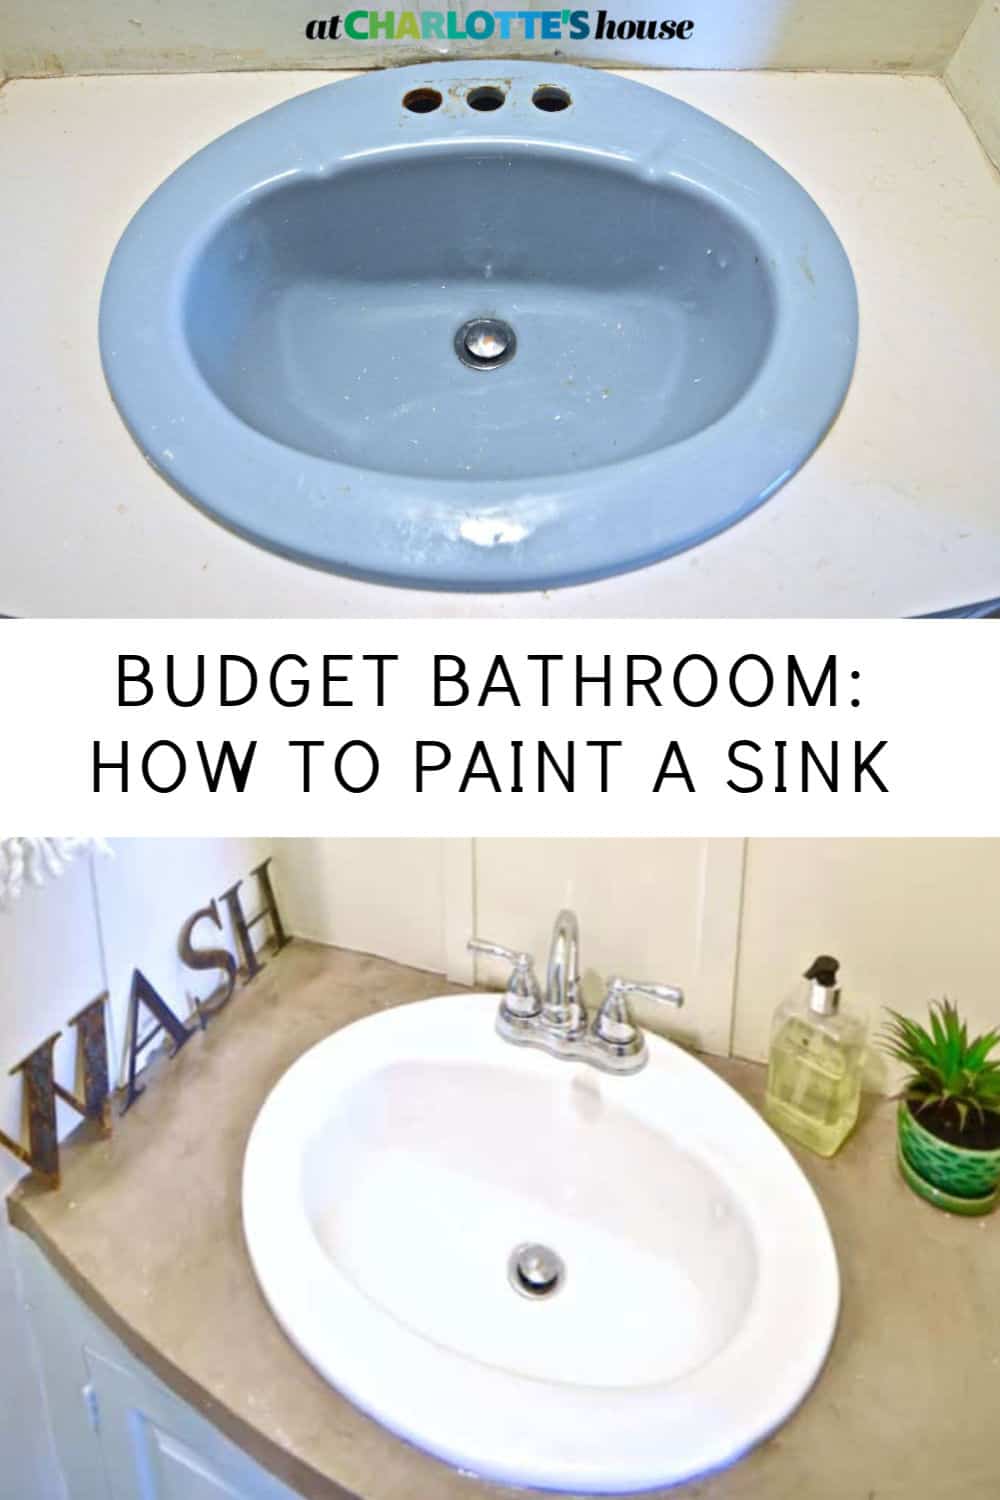
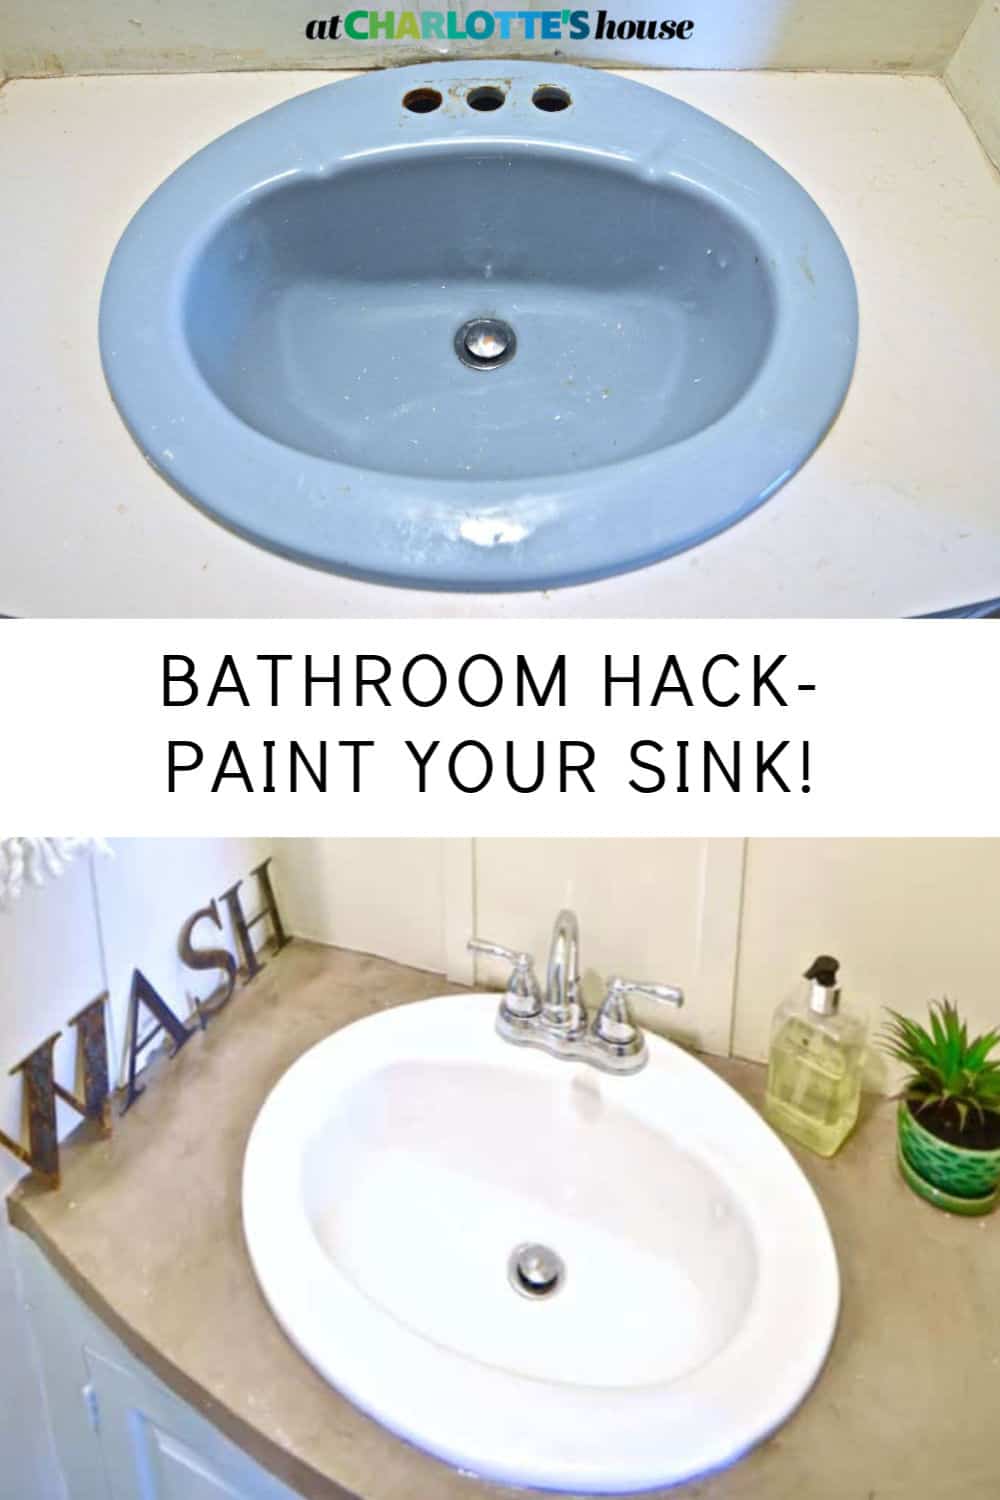
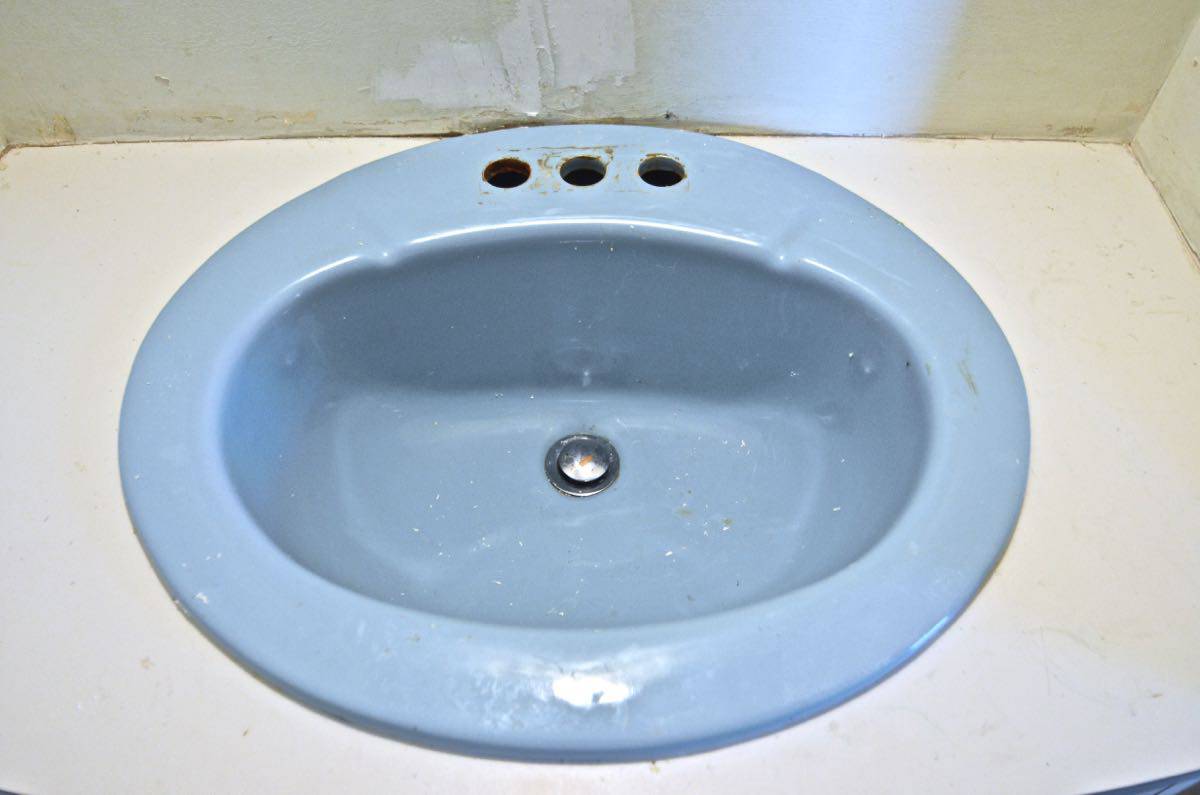
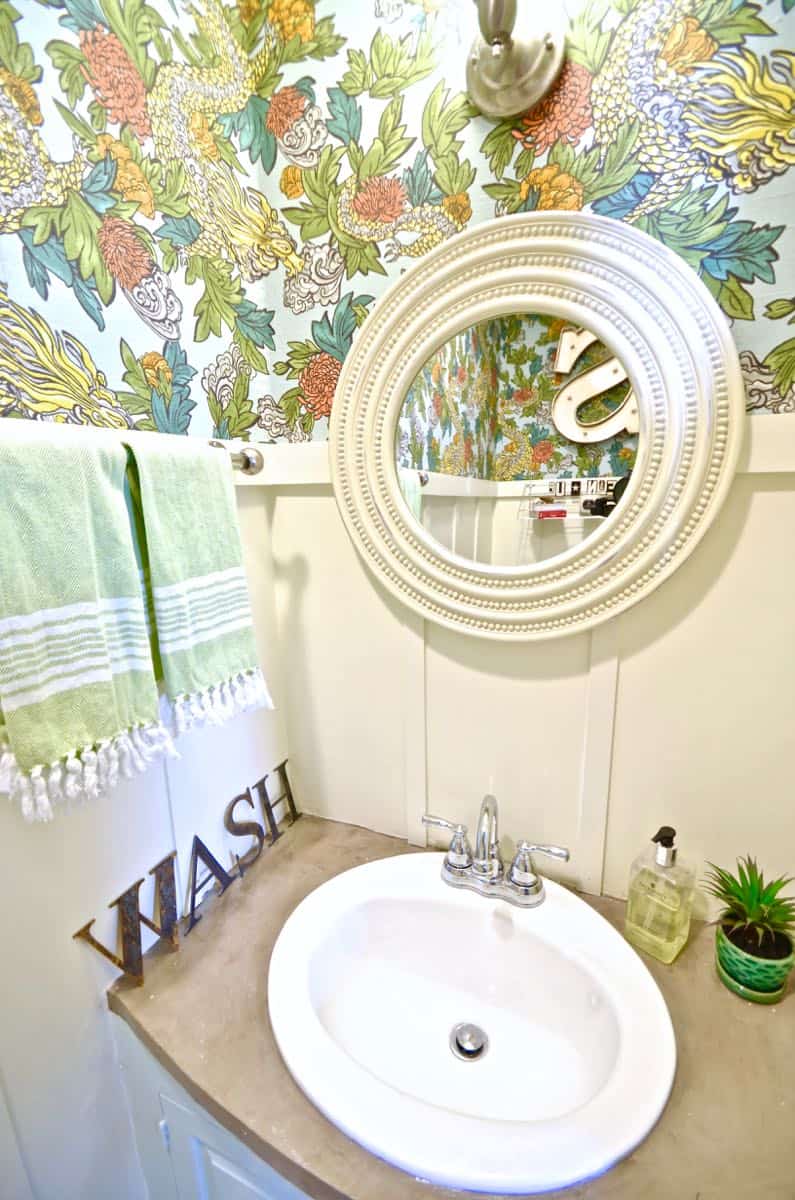
Welcome back to another raucous and titillating episode of What's Poppin' in the Powder Room. Reminder… the below photo was the beauty I started with. I added the wallpaper right when we moved in, but there wasn't much else about this room that I liked. Today I'm sharing one of the biggest 'bang for your buck' DIYs… how to PAINT a sink!
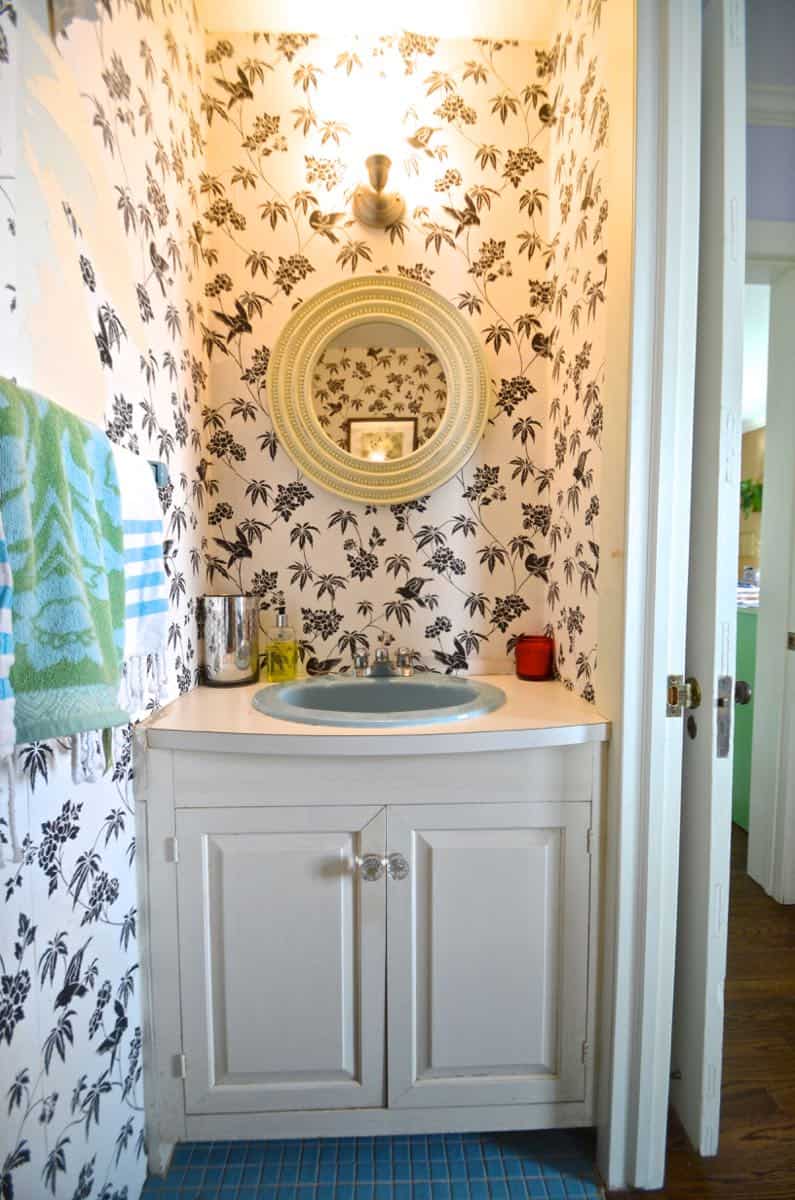
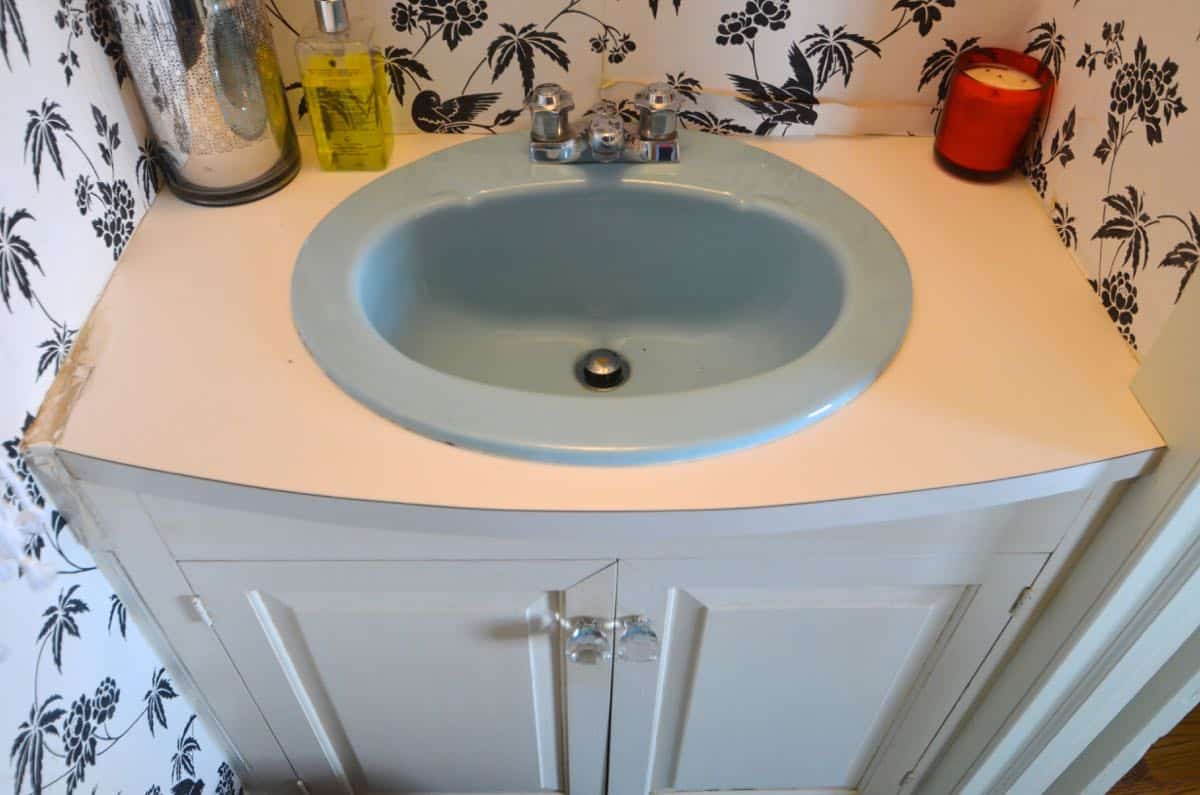
So far, I've removed the toilet and peeled off all the wallpaper. And I've removed the dated blue tile and replaced it with pretty pretty penny tiles. Gah… I love them. But today I'm talking 'bout the sink. I toyed with replacing the whole thing with a pedestal sink, but turns out even that is too big for this space. Plumbing's not my favorite can of worms, so I settled on a way to pretty-up this existing sink and I'm SO happy that I took this route. Here's a close up of the before. Not that the turquoise sink wasn't rad and all… but I needed it to go. (Full material list at end of post.)
Step 1. Remove the Faucet
Before I could deal with the sink, I had to remove the faucet… I'm no plumbing expert, but this was easy. Shut off the water to your sink and do some stretching because the hardest part about working on a sink is getting your body in the right position to do anything. Disconnect your water lines from the faucet… ours was obvious with two large nuts that unscrewed and released the hot/ cold water lines from the faucet itself.
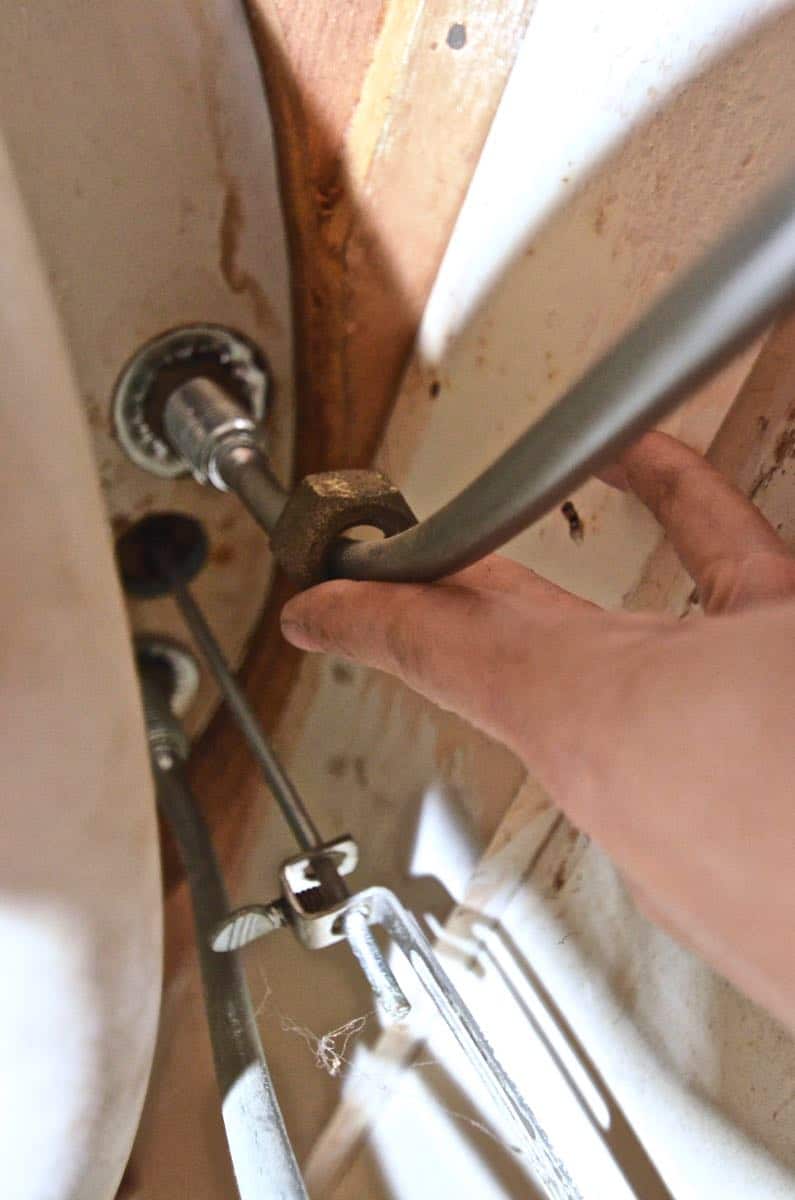
If you look under your sink, the actual faucet and knobs are attached to the bowl of your sink with two nuts.
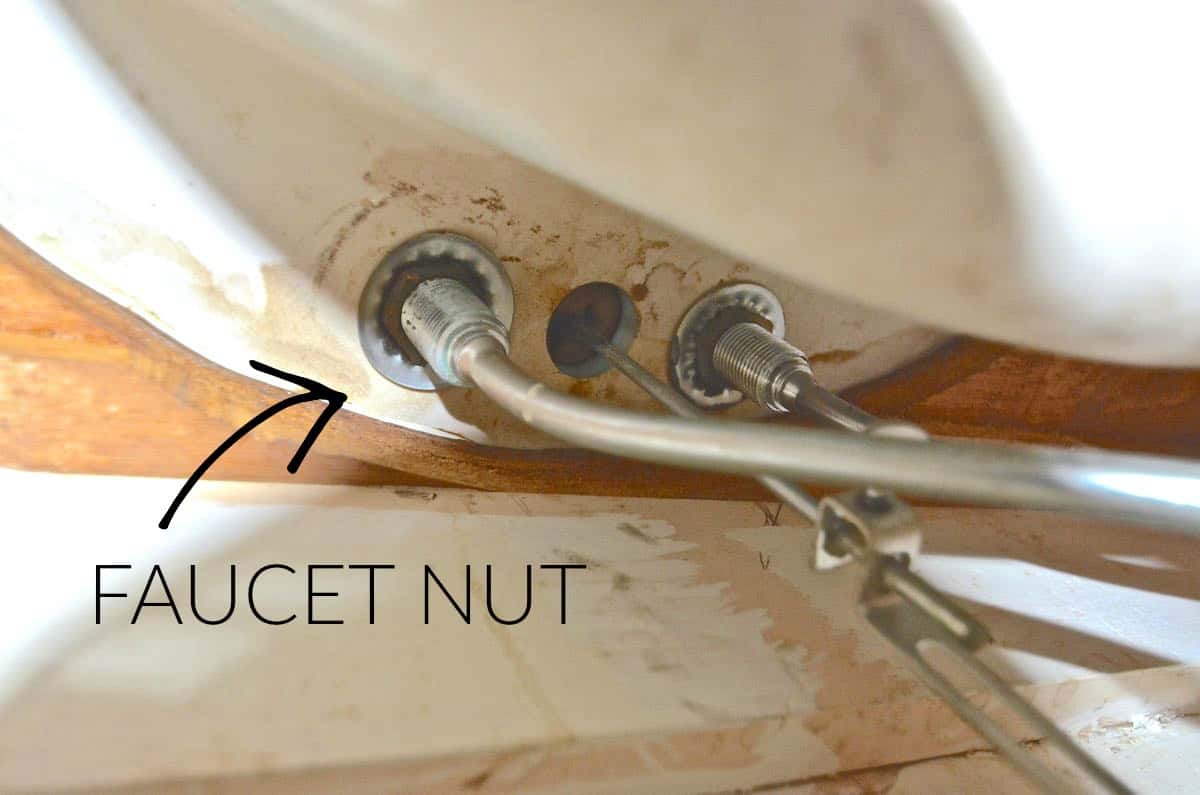
You'll need this magic tool (affiliate) to unscrew these nuts. And, full disclosure, I could only crack one of them, so I actually did send out a bat signal for our amazing plumber to come over and help with that one nut. (That's what she said?) Once the faucet was removed, time to tackle the sink.
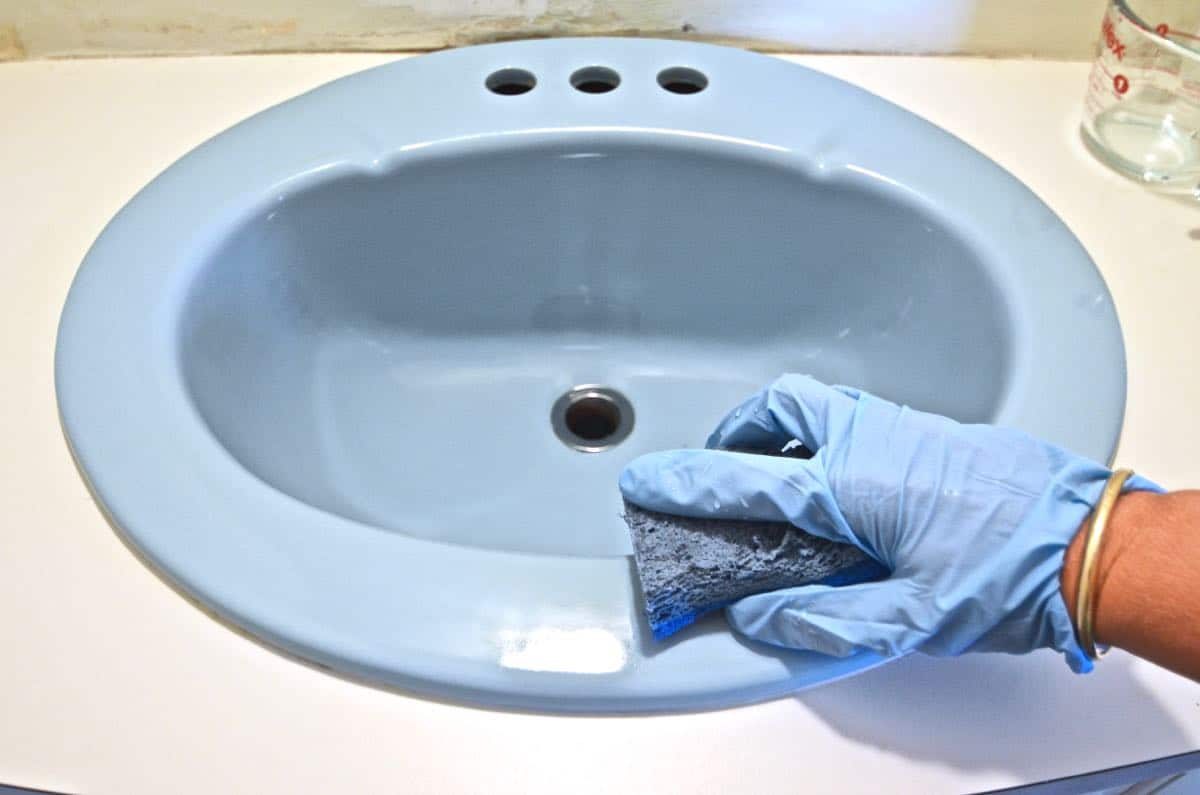
Step 2. Clean
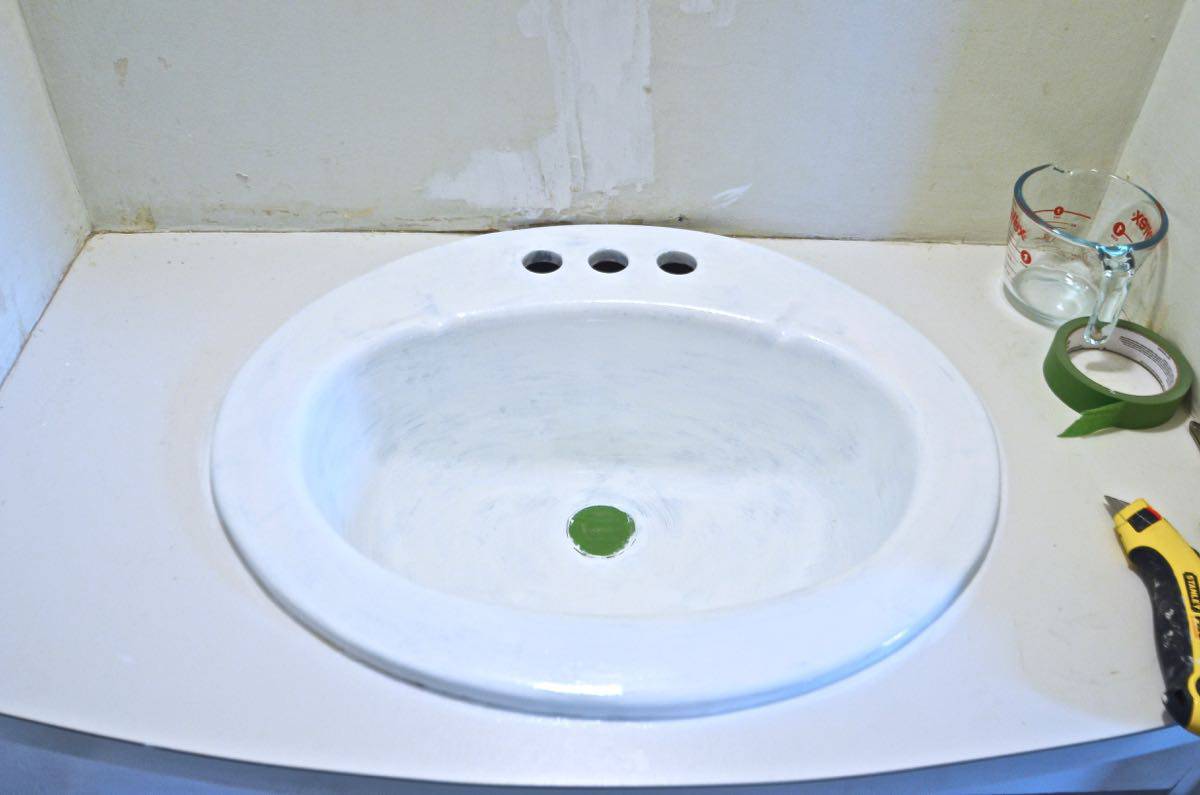
I used this product (affiliate link). It costs $36 which is a lot for paint… but WAY less than a new sink, ya know? Read the directions carefully, but the gist is that you start by mega-cleaning the sink. The kit comes with a cleaner that you use and alternate with fine steel wool (also provided)…
Step 3. Paint
Once you've cleaned and scrubbed your sink a few times, you apply one light coat of the epoxy with a good quality brush (not a roller or foam brush).
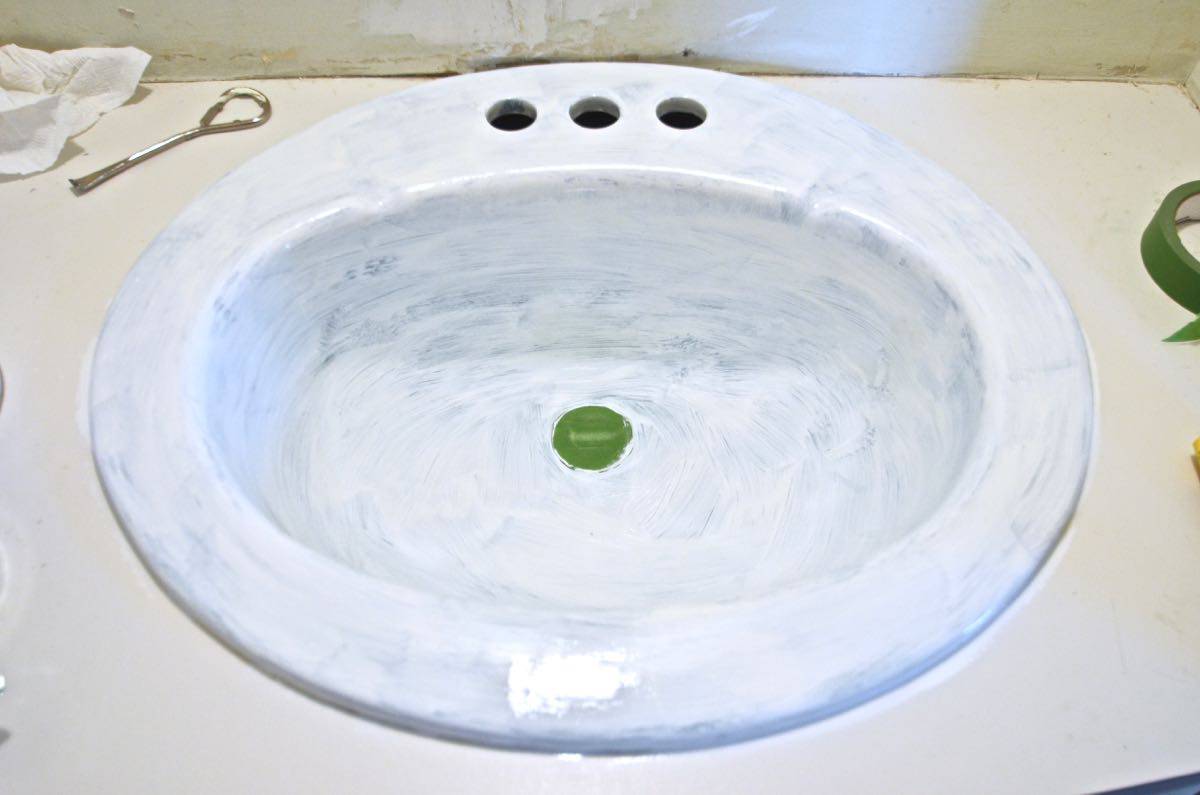
The epoxy is self leveling so you don't have to worry too much about brush strokes, but you do need to be careful about drips, etc. After 3 hours, you can apply a second coat. (If you wait longer than 4 hours, you need to wait the full 72 hours for the epoxy to cure… so set your timer!) First coat is above… second coat below.
Apparently our 1970s turquoise sink is 'dark' so I needed to give it a 3rd coat. Problem is that you need to wait 72 hours for the sink to fully dry before applying this 3rd coat so I was sort of in limbo with the rest of the powder room waiting for this step. Bright and early Saturday morning, and 3rd coat went down.
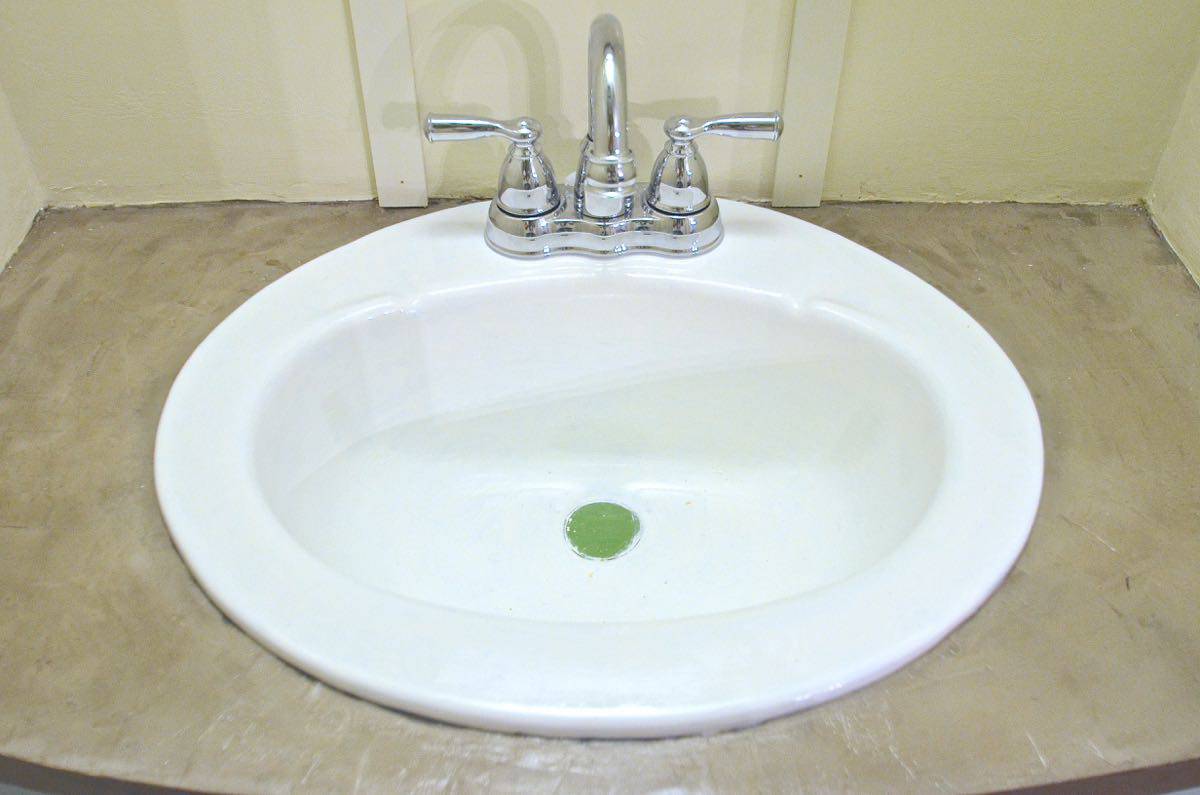
Here's what I can say about this process. If you are looking for a perfectly white porcelain sink like you can buy at the store, this probably won't satisfy you… I don't think it's obvious or offensive, but you can definitely tell that this has been painted. (They sell a spray version, but I wasn't about to pull out the sink just to try the spray…). That said, I am COMPLETELY pleased with this result- it's exactly what I wanted and for $35 and NO significant plumbing, this is perfect. Would I do this in a brand new bathroom? Nope. But to rejuvenate a dated bathroom without spending a fortune, this was exactly the product I was looking for. I also swapped out the faucet so for another $50, the whole sink is new and majorly improved!
Note: I often get asked how this has held up and honestly… I don't know. We sold the house and moved a few month after this bathroom makeover so I'm not sure. This was our powder room so didn't get too much use so I suspect it has lasted OK.
Materials to Paint a Sink
(Affiliate links included for your convenience.)
- Basin Wrench
- Epoxy Paint
- Paint Brush (this is my favorite one, but you'll have to throw it out after… any "best" quality brush will work)
- Ventilation mask (this stuff is POTENT)
By the magic of the internet, you can check out the finished power room reveal HERE. You can also see how I worked some magic with a salvaged door HERE.


Source: https://atcharlotteshouse.com/paint-sink/


0 Komentar